Blur Part of an Image: Step-by-Step Guide
To use Blur Part of an Image, open the tool, choose your file, and let it process in your browser — nothing is uploaded. Blur, pixelate or black out selected parts of a picture: text, plates, faces or private… The result downloads straight to your device, free and without sign-up.
Blur Part of an Image applies a blur, pixelation or another visual effect to a whole photo or a chosen area, processed on-canvas in your browser so the image never leaves your device.
What Is Blur Part of an Image?
Blur Part of an Image applies a blur, pixelation or another visual effect to a whole photo or a chosen area, processed on-canvas in your browser so the image never leaves your device.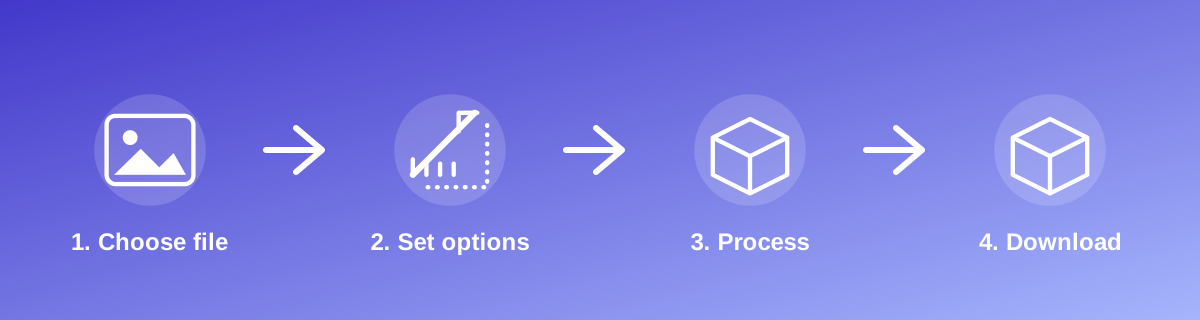
How to Use It — Step by Step
- Open Blur Part of an Image and upload your photo.
- Select the area or intensity for the effect.
- Preview the result at full size.
- Download the edited image.
Why Use This Tool?
- Hides a face, licence plate or sensitive detail before sharing a photo.
- Softens a background or creates a stylised effect without a desktop editor.
- Runs locally — no upload to an external server for the effect to be applied.
- Free, with no watermark added to the result.
Supported File Formats
Blur Part of an Image accepts: AVIF, BMP, GIF, JFIF, JPEG, JPG, PNG, WEBP. Always confirm the accepted formats on the tool page itself if you are working with an unusual file type.
Quality, Resolution and File Size Considerations
Blur and pixelation are deliberately destructive to detail in the affected area — that is the point when hiding sensitive information — but the strength should match the purpose. A light blur may still allow a face or text to be guessed; a heavier setting is safer for genuinely sensitive content. Effects applied to the whole image, such as grayscale, do not remove detail, only colour information.
Is It Safe and Private?
Blur Part of an Image runs its processing in your browser using your device's own resources. The tool code does not make an upload request for the file you select, so your file is not sent to a server for this task. Keep in mind that no tool can guarantee what happens after you download and share a file elsewhere — that depends on where you send it next.
Best Practices
- Use a strong enough setting when the goal is to conceal identifying details, not just soften them.
- Preview the result at full size before sharing, since a small preview can hide a blur that's actually too light.
- Apply the effect to a copy, keeping the original photo unedited.
- For sensitive content, double-check the exported file doesn't include an unedited original hidden in its metadata.
Common Problems and Fixes
The blurred area is still recognisable Increase the blur or pixelation strength — light settings are meant for stylistic softening, not concealment.
The effect covers the wrong area Reselect the region carefully before applying the effect, and preview at full size to confirm the correct area is covered.
The rest of the photo looks unaffected Some tools apply the effect only to a selected region by design; check whether you meant to apply it to the whole image instead.
Frequently Asked Questions
Yes, this tool is free with no daily limit and no watermark added to the result.
No sign-up is required. Open the tool page and use it directly.
No — the tool processes your file in your own browser, so it is not uploaded anywhere for this task.
Yes, the tool page is mobile-friendly and works in a phone browser as well as on a desktop.
No — once applied and saved, the original detail in that area cannot be recovered from the edited file. Keep the original separately.
Most tools in this group offer an adjustable intensity; check the controls on the tool page.
Related Tools
Key Takeaways
- Blur Part of an Image runs in your browser — free, no sign-up, and your file is not uploaded for this task.
- Follow the four steps above and check the result before you rely on it for a form, portal or upload.
- Keep your original file, since results from lossy or destructive edits cannot always be undone.
Reviewed and updated 25 September 2026 by the iLikePDF Editorial team. This guide describes how the Blur Part of an Image tool on iLikePDF works; always verify results against the specific requirements of the form, portal or platform you are submitting to.