Add Name and Date on Photo: Step-by-Step Guide
To use Add Name and Date on Photo, open the tool, choose your file, and let it process in your browser — nothing is uploaded. Add a name and date strip under a photo, as some exam forms require. The result downloads straight to your device, free and without sign-up.
Add Name and Date on Photo prepares a photo or signature to the exact dimensions, background and file size that exam boards, government portals and passport applications require, entirely inside your browser.
What Is Add Name and Date on Photo?
Add Name and Date on Photo prepares a photo or signature to the exact dimensions, background and file size that exam boards, government portals and passport applications require, entirely inside your browser.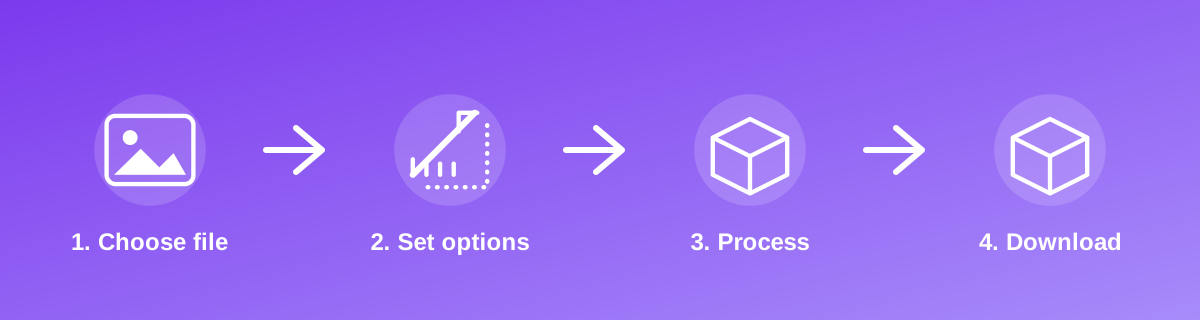
How to Use It — Step by Step
- Open Add Name and Date on Photo and upload your photo.
- Confirm the target size shown matches your exam or portal's current requirement.
- Process the photo in your browser.
- Download the file and verify its size before submitting it to the portal.
Why Use This Tool?
- Follows the exact size and background-colour specification published by the exam or passport body.
- Prevents the common rejection causes: wrong file size or wrong pixel dimensions.
- Skips a paid photo studio or editing app for a form-compliant photo.
- Keeps the photo on your device the entire time — no upload involved.
Supported File Formats
Add Name and Date on Photo accepts: AVIF, BMP, GIF, JFIF, JPEG, JPG, PNG, WEBP. Always confirm the accepted formats on the tool page itself if you are working with an unusual file type.
Quality, Resolution and File Size Considerations
Official photo specifications combine three separate rules: pixel dimensions, physical size (cm/mm/inch) at a stated DPI, and a maximum file size in KB. Meeting only one of the three is not enough — check the exact notification or application portal for all three numbers before you submit, since requirements vary by exam and by year.
Is It Safe and Private?
Add Name and Date on Photo runs its processing in your browser using your device's own resources. The tool code does not make an upload request for the file you select, so your file is not sent to a server for this task. Keep in mind that no tool can guarantee what happens after you download and share a file elsewhere — that depends on where you send it next.
Best Practices
- Check the current official notification for size, background colour and file-size limits, since these change between cycles.
- Start with a plain, evenly lit background in the right colour before you even open the tool.
- Verify both the file size and the pixel dimensions against the portal's stated maximum.
- Keep the source photo — a different exam or form later may need a different size.
Common Problems and Fixes
The portal rejects the file for being the wrong size Re-check the current official notification — pixel dimensions and KB limits are sometimes revised between application cycles.
The background isn't the required colour Take or choose a source photo against a plain background close to the required colour, since this tool resizes and compresses but does not repaint the background.
The face looks off-centre after resizing Start from a photo where the face is already reasonably centred and fills a similar proportion of the frame the destination expects.
Frequently Asked Questions
Yes, this tool is free with no daily limit and no watermark added to the result.
No sign-up is required. Open the tool page and use it directly.
No — the tool processes your file in your own browser, so it is not uploaded anywhere for this task.
Yes, the tool page is mobile-friendly and works in a phone browser as well as on a desktop.
No — it is an independent tool that helps you hit common published dimensions and size limits. Always confirm against the current official notification.
Only if the different exams share the same size and background requirements; otherwise process the original photo again for each set of requirements.
Related Tools
Key Takeaways
- Add Name and Date on Photo runs in your browser — free, no sign-up, and your file is not uploaded for this task.
- Follow the four steps above and check the result before you rely on it for a form, portal or upload.
- Keep your original file, since results from lossy or destructive edits cannot always be undone.
Reviewed and updated 25 September 2026 by the iLikePDF Editorial team. This guide describes how the Add Name and Date on Photo tool on iLikePDF works; always verify results against the specific requirements of the form, portal or platform you are submitting to.