Add Text to Image: Step-by-Step Guide
To use Add Text to Image, open the tool, choose your file, and let it process in your browser — nothing is uploaded. Type text on a picture with your choice of font, size, colour, opacity and position. The result downloads straight to your device, free and without sign-up.
Add Text to Image adds a watermark, logo, border, text or rounded corners to a picture, drawn directly onto the image in your browser so the original stays private.
What Is Add Text to Image?
Add Text to Image adds a watermark, logo, border, text or rounded corners to a picture, drawn directly onto the image in your browser so the original stays private.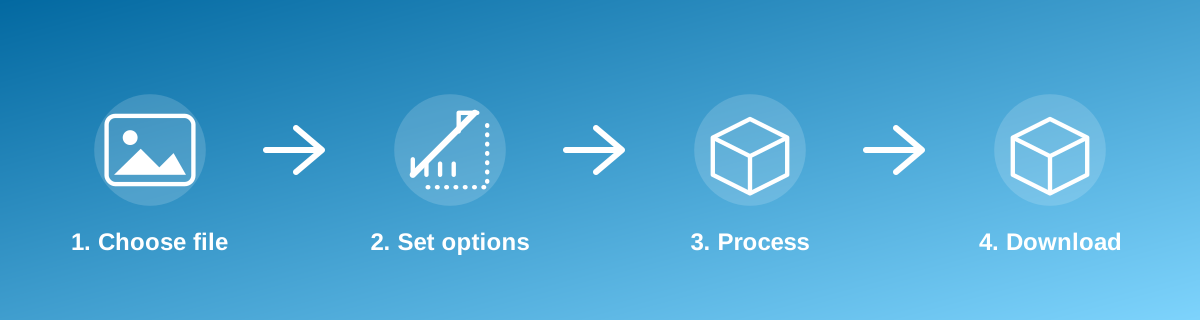
How to Use It — Step by Step
- Open Add Text to Image and upload your photo.
- Add and position the watermark, text, border or logo.
- Preview the final composition.
- Download the finished image.
Why Use This Tool?
- Brands or labels photos before sharing them publicly, without desktop design software.
- Adds a simple frame or finishing touch to a picture in a few clicks.
- Processing happens locally — your photo is not uploaded for the edit.
- Free, with control over placement and style of the addition.
Supported File Formats
Add Text to Image accepts: AVIF, BMP, GIF, JFIF, JPEG, JPG, PNG, WEBP. Always confirm the accepted formats on the tool page itself if you are working with an unusual file type.
Quality, Resolution and File Size Considerations
Text and watermarks stay sharp as long as the base photo has enough resolution for the chosen font size — very small text on a low-resolution image can look blurry. Borders and rounded corners are drawn at the image's native resolution, so quality is preserved outside the added element itself.
Is It Safe and Private?
Add Text to Image runs its processing in your browser using your device's own resources. The tool code does not make an upload request for the file you select, so your file is not sent to a server for this task. Keep in mind that no tool can guarantee what happens after you download and share a file elsewhere — that depends on where you send it next.
Best Practices
- Choose a watermark size and opacity that's visible without covering the important part of the photo.
- Preview text placement carefully near the edges, where it's most likely to be cropped by different display sizes.
- Use a high-resolution source image so added text or logos render sharply.
- Keep an unwatermarked copy of the original for your own records.
Common Problems and Fixes
The watermark is hard to read Increase the size or contrast, or choose a placement over a less busy part of the photo.
Text looks pixelated This usually happens on a low-resolution source image; start from a higher-resolution photo if the text needs to look sharp.
The border or logo is in the wrong position Adjust the placement controls and preview again before downloading — most tools let you reposition before saving.
Frequently Asked Questions
Yes, this tool is free with no daily limit and no watermark added to the result.
No sign-up is required. Open the tool page and use it directly.
No — the tool processes your file in your own browser, so it is not uploaded anywhere for this task.
Yes, the tool page is mobile-friendly and works in a phone browser as well as on a desktop.
No — once applied and downloaded, treat the result as final. Keep an unedited copy of the original photo separately.
Where the tool supports it, yes — check the tool page for whether it accepts an uploaded logo file.
Related Tools
Key Takeaways
- Add Text to Image runs in your browser — free, no sign-up, and your file is not uploaded for this task.
- Follow the four steps above and check the result before you rely on it for a form, portal or upload.
- Keep your original file, since results from lossy or destructive edits cannot always be undone.
Reviewed and updated 25 September 2026 by the iLikePDF Editorial team. This guide describes how the Add Text to Image tool on iLikePDF works; always verify results against the specific requirements of the form, portal or platform you are submitting to.